Makeup for face shape works best when it gives you a way to test placement, not a promise to redraw your face. A round, square, oval, heart, or longer outline can suggest where contrast may look interesting, but skin texture, cheekbone height, eye spacing, and the amount of makeup you enjoy wearing matter just as much. The aim is not to make every face converge on one ideal. It is to understand why a blush placement looks fresh on one day, why a strong contour feels theatrical on another, and how to adjust without layering on more product.
Pick an effect before reaching for a contour product
Start by naming the effect you want. Perhaps you want your cheeks to look lifted after a short night's sleep, a little more warmth around the perimeter, or a soft focus around the lower face for a photograph. That is more useful than deciding you must contour because a chart says your face is round or long. With a small goal, you can choose one product and see what it does rather than placing blush, bronzer, and highlight everywhere at once.
Map blush from the cheekbone you actually have
Face shape is relevant because it changes the visual route your eye takes. Sweeping colour slightly outward can emphasize width at the temples. Keeping blush closer to the centre can preserve softness through the cheeks. A longer face may enjoy colour that travels a little more horizontally; a wider face may prefer a more lifted diagonal. These are options, not corrections. If a placement makes you look awake and still resembles you in the mirror, it has done enough.
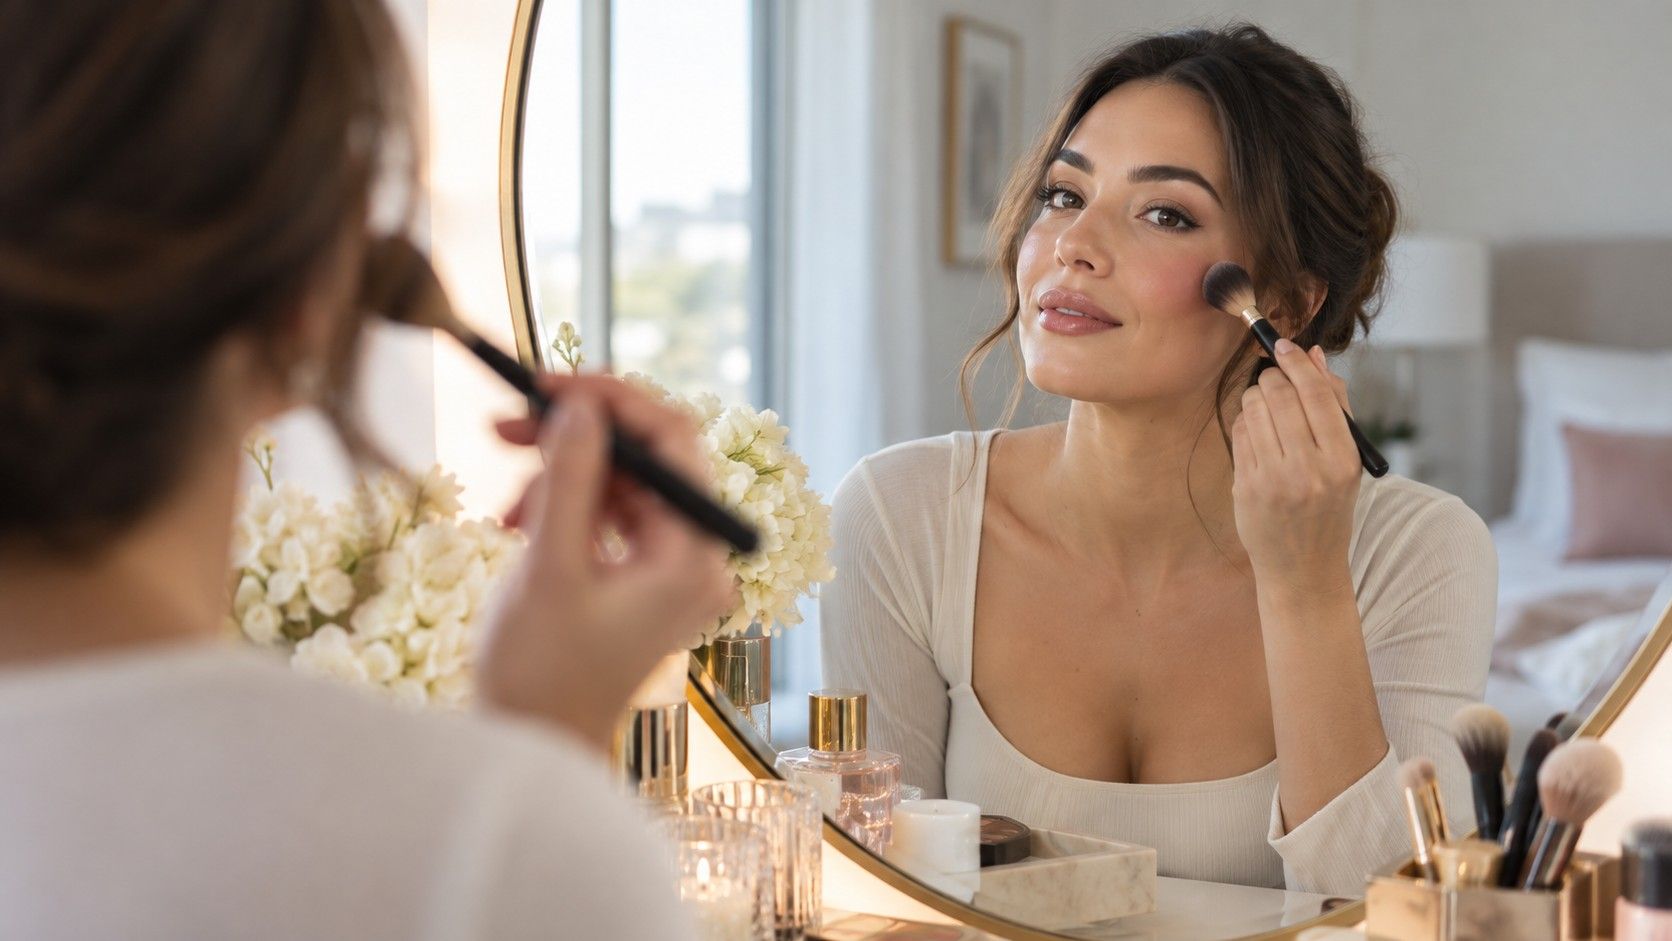
Find the top of your cheekbone by pressing lightly just below the outer corner of the eye, then smile normally rather than stretching your face into a pose. The rounded part of the cheek moves; the bone beneath gives a steadier landmark. Place a tiny amount of blush first and blend upward toward the temple with a clean brush or sponge. This direction often gives a lifted result on round, oval, heart-shaped, and square faces, but the starting point can move according to your own cheek volume.
If your face looks long in photographs, try keeping the blush path shorter and a little more horizontal across the upper cheek. If you have prominent cheeks, begin farther back so the colour does not arrive too close to the nose. A common problem is placing bright blush low on the cheek, then trying to fix the result with contour. Instead, remove or soften the edge and raise the original placement by a few millimetres. The smallest adjustment is usually more convincing than a complete redesign.
| Placement goal | Try first | Watch for |
|---|---|---|
| A little lift | Blush high on the outer cheek, blended toward the temple | A hard diagonal stripe or colour pulled into the hairline |
| More horizontal balance | A short sweep across the upper cheek | Blush sitting too low and making the lower face look heavier |
| Soft everyday warmth | Sheer colour close to the natural flush area | Using a deep shade that needs heavy blending |
| Definition for a photo | Build in thin layers and check both sides | One cheek becoming visibly darker than the other |
Use bronzer to suggest warmth before structure
Bronzer and contour are often treated as the same thing, but they solve different problems. Bronzer is usually warmer and meant to resemble a little sun or natural depth. Contour tends to be cooler or more neutral and is used sparingly to create a shadow effect. For everyday makeup, bronzer placed around the outer forehead, temples, and high edge of the cheek can give a coherent frame without trying to alter the jaw or nose. This is especially useful when the rest of the makeup is light.
On a heart-shaped face, a light touch near the temples may balance a broader forehead without making the centre look muddy. On a square face, diffuse warmth along the upper perimeter can soften the strong horizontal line without tracing every corner. On a round face, a narrow, well-blended sweep beneath the cheekbone may add contrast, but a large dark crescent often does the opposite and looks flat. Use a product that is only a little deeper than your skin tone, then stop before you feel compelled to blend for five minutes.
Keep jaw and nose contour conservative
The jawline and nose are the places where face-shape advice becomes least reliable. Daylight moves, facial expressions change, and a contour that looks subtle in a bathroom mirror can become obvious in a side view. If you want to test jaw contour, use a soft neutral shade under the natural shadow of the jaw, not a thick line along the visible edge. Blend downward into the neck and look from both sides. The effect should disappear before the product itself becomes the first thing you see.
For the nose, avoid following a generic face-shape diagram. Nose shape, bridge width, glasses, and camera distance all matter more than the outline of the face. A small amount of shading near the inner brow and a restrained highlight down the centre may be enough. If the contour makes the nose look grey, narrow in an unnatural way, or disconnected from the rest of the complexion, wash it back with a clean brush. Makeup is easier to add than to rescue after it has been overbuilt.
Place highlight where light would naturally land
Highlighter earns its place when it follows the surface that already catches light: the upper cheekbone, a little above the arch of the brow, or the centre of the eyelid. The formula matters as much as placement. A finely milled cream can look like skin on textured cheeks, while a highly reflective powder may make texture more visible in daylight. Use a fingertip for a small area and a brush for a veil of product; both give more control than drawing an opaque stripe.
Think about the balance with blush and bronzer. On a fuller cheek, highlight placed too close to the apple can make the centre look more prominent than you intended. Moving it slightly outward along the high point can keep the glow elegant. On a longer or narrower face, a small touch near the outer cheek can create width, but a bright line down the entire face can lengthen it visually. Check it after you have stepped away from the mirror, because close-up lighting flatters more shine than ordinary daylight does.
Check the whole face in ordinary daylight
Daylight is the practical editor for makeup placement. Stand near a window or walk a few steps outside without direct sun. Turn your head slowly and see whether the bronzer stays soft, whether the blush has a clear edge, and whether both cheeks have comparable height. A phone photo at arm's length is useful only if you take it straight on and avoid a wide lens; otherwise it can exaggerate the middle of the face. A short video often tells the truth more clearly because you see the product as your expression changes.
Keep a note of what worked: perhaps cream blush beginning one finger-width from the nose, bronzer only at the temples, and a muted highlight high on the cheekbone. That personal map will outlast any face-shape trend. It also leaves room for changing your makeup with your mood, haircut, glasses, and the amount of time you have in the morning.