A face shape analyzer from a photo can be a useful second set of eyes, but the photograph does much of the deciding. The tool sees pixels, edges, and proportions; it does not see the face in motion or know what the camera distorted. A careful portrait gives it a fairer outline and gives you a result that is easier to judge for yourself.
Know what a photo tool is actually comparing
Face shape detection usually compares the visible outline with broad patterns such as oval, round, square, heart, diamond, or oblong. It may estimate where the forehead, cheekbones, jaw, and chin sit in relation to one another. That can be helpful for narrowing options, especially when you have stared at your reflection so long that every feature begins to look equally important. It is not a measurement of identity, attractiveness, ancestry, health, or personality.
Set up a straight-on portrait before you upload
The result also depends on what is visible. Thick hair over the temples can make a forehead look narrower. A beard can change the perceived jawline. Strong contour, a wide smile, sunglasses, or a raised eyebrow can interrupt the facial outline. Before using any analyzer, think of the upload as a simple portrait study: clear light, a relaxed face, and as little visual interference as practical.
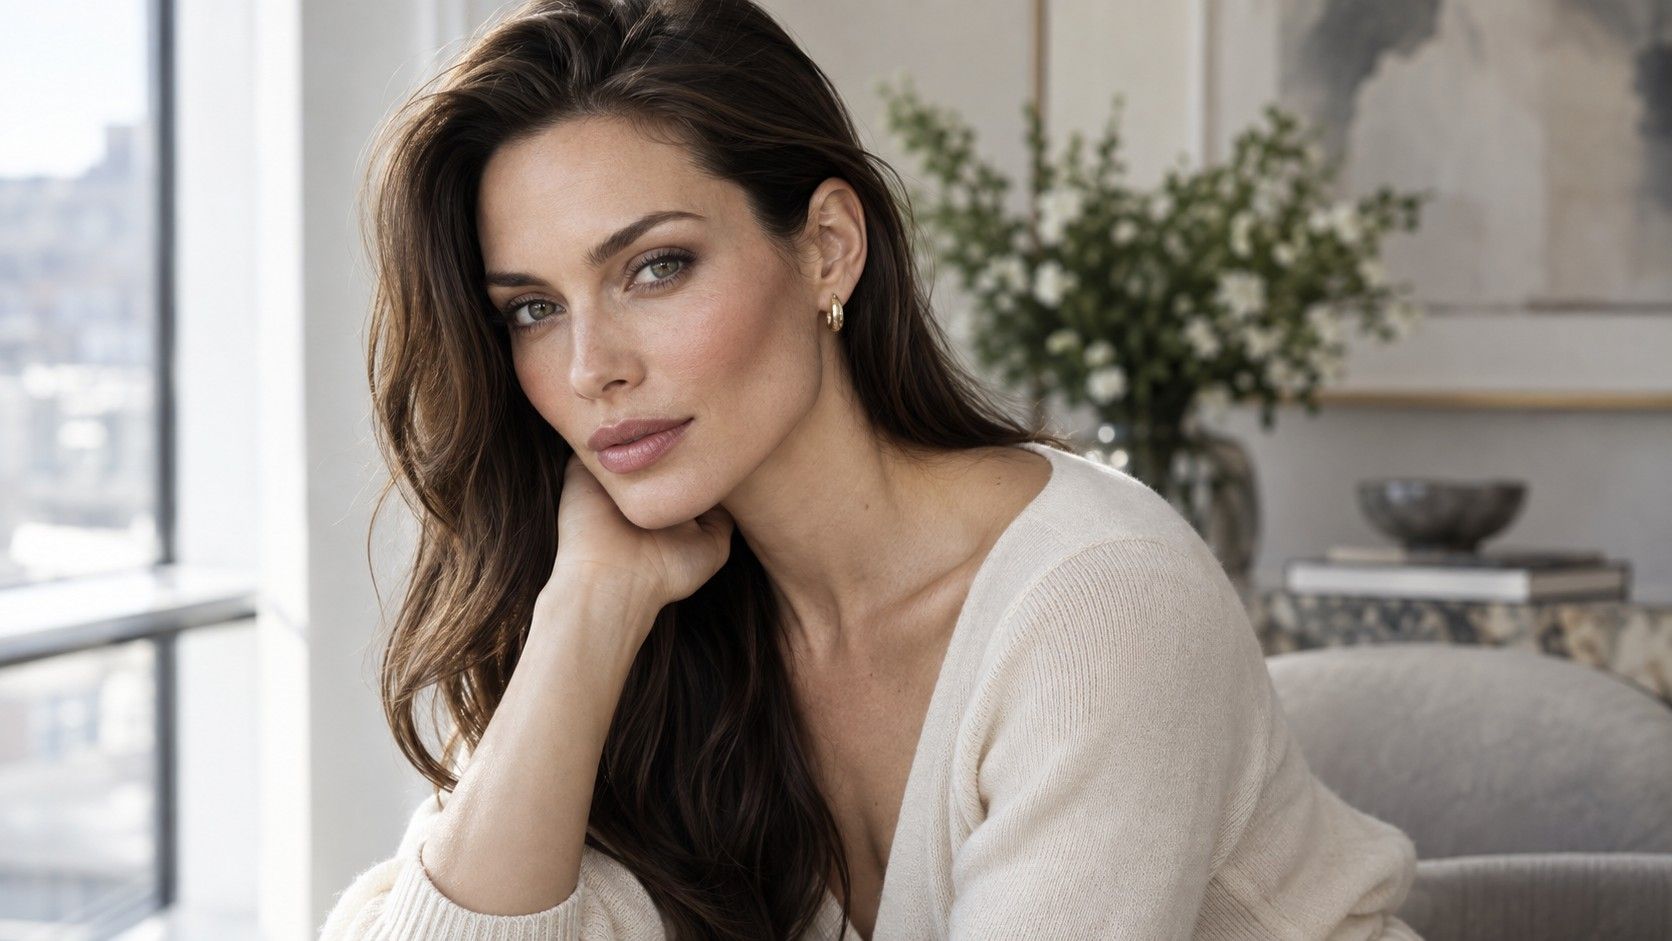
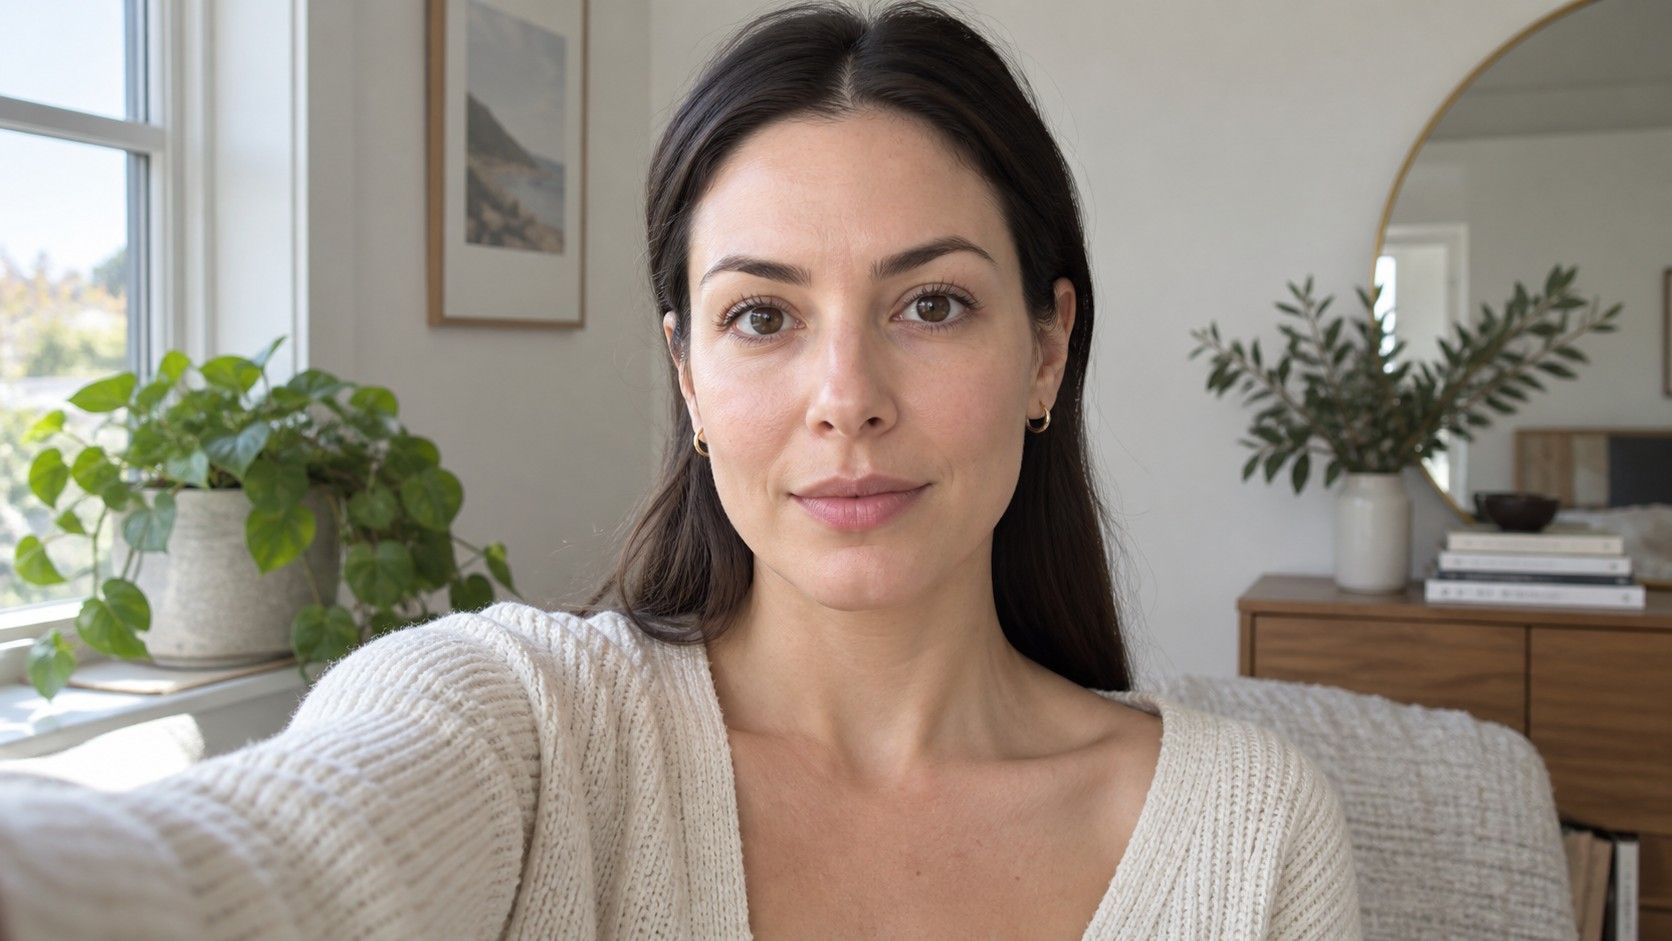
Stand facing a window on an overcast day or use even indoor light from in front of you. Place the camera at eye level, not on a table below your chin and not above your forehead. Keep the phone vertical, hold it at arm’s length or farther, and use the rear camera with a timer if that feels manageable. A small tripod or a shelf at eye height is useful because it removes the urge to lift your chin toward the screen.
Use a neutral expression with lips gently together and shoulders relaxed. You do not need a blank or unnatural face; the point is to avoid pulling the cheeks upward or tightening the jaw. Move hair away from the sides of the face enough to show the temples and jaw corners. Keep the hairline visible where possible, since its width is one of the comparisons a face shape analyzer may use.
| Photo choice | Better setup | What it prevents |
|---|---|---|
| Camera height | Lens level with the eyes | Shortened forehead or exaggerated chin |
| Distance | Arm’s length or farther, then crop | Wide-angle expansion of the centre of the face |
| Light | Soft, even light from the front | Hard shadows that hide one side of the jaw |
| Expression | Relaxed and front-facing | Lifted cheeks or a tightened jawline |
Avoid lens and lighting distortions that change the outline
The common problem with a close selfie is not that it is “bad”; it is that phone lenses are designed to fit a lot into a small frame. At close range, the nose and centre of the face appear larger while the sides recede. This can make the cheek area seem broader and the jaw seem smaller. Step back, use a timer, and crop afterward. If your phone has a two-times portrait lens, it can produce a calmer perspective when there is enough room.
Lighting matters just as much. A ceiling light can hollow out the cheeks and hide the jaw corners under shadow. Direct sun on one side can make a symmetrical face appear uneven. Avoid beauty filters, portrait blur, face-smoothing, and automatic reshaping settings. They may soften an edge that matters to the facial outline. A plain wall behind you is useful because a busy background can confuse both an automated crop and your own attention.
Read the result as a range, not a verdict
If the tool returns one label with high confidence, compare it with the photo before accepting it. Does the visible outline support it? Is face length greater than width, are the cheekbones broadest, and does the jaw look curved or angular? A good result should explain what you can already see. If it says “oval” but you notice a much wider upper face and a tapered chin, heart or oval-heart may be a better working description.
Mixed results are common and useful. An analyzer that alternates between round and oval may be reacting to similar length and width combined with a soft jaw. A square-versus-rectangle result often means the jaw and forehead are close in width while the amount of length changes with the photo. Instead of looking for certainty, identify the two patterns that recur and the feature that makes each one plausible.
Retake the photo when the outline is unclear
Retake rather than overinterpret when one side of the face is in shadow, the head is turned, hair covers a temple, or the image was taken very close to the lens. Make one change at a time. First correct camera height, then distance, then light. Keeping all three changes separate makes it easier to see why a result moved. Two or three clean photographs are more informative than repeatedly uploading the same doubtful selfie.
Compare the results alongside a mirror check. In a mirror, stand far enough back to see the whole face and hairline. In the photo, look for the same broad relationships: length relative to width, forehead relative to cheekbones, and the route from cheek to jaw. A photo analyzer works best as a prompt to look more carefully, not as a substitute for your own observation. That approach keeps the process practical and avoids treating an ordinary styling tool as something more authoritative than it is.
Use the output to ask one practical question rather than searching for total certainty. You might compare two glasses frames, see how a parting changes the visible length of the face, or decide whether a fringe covers an area you want to show. Keep the same camera height, distance, and expression when you make that comparison. If two clean photos give similar results, that agreement is more useful than a high score from one awkward selfie. If every image produces a different label, check the light, lens distance, and head angle before drawing conclusions. The best photo analysis leaves you with clearer observations about your own outline, not a technical label that feels more authoritative than your eyes.