Eyebrows for face shape are often reduced to a list of instructions: add an arch here, flatten a brow there, lengthen one tail, shorten another. That approach misses the detail that makes brows believable. Your bone structure, eye spacing, hair growth, eyelid shape, and how much brow you already have create a much more useful map than a single face-shape label. The safest and most flattering changes are usually small: a cleaner start, a slightly clearer arch, or a tail that ends where it makes sense for your own eye.
Read your natural brow before changing it
Look at your brows in even daylight with no makeup on them. Notice where the hair is dense, where it naturally changes direction, and where the tail begins to become sparse. Those features are not mistakes to erase; they are the structure that makes a shape look like yours. If one brow grows slightly higher or has a gentler arch, that is normal. Trying to force total symmetry can make both brows look harsher than the face around them.
Use face shape as a soft guide, not a stencil
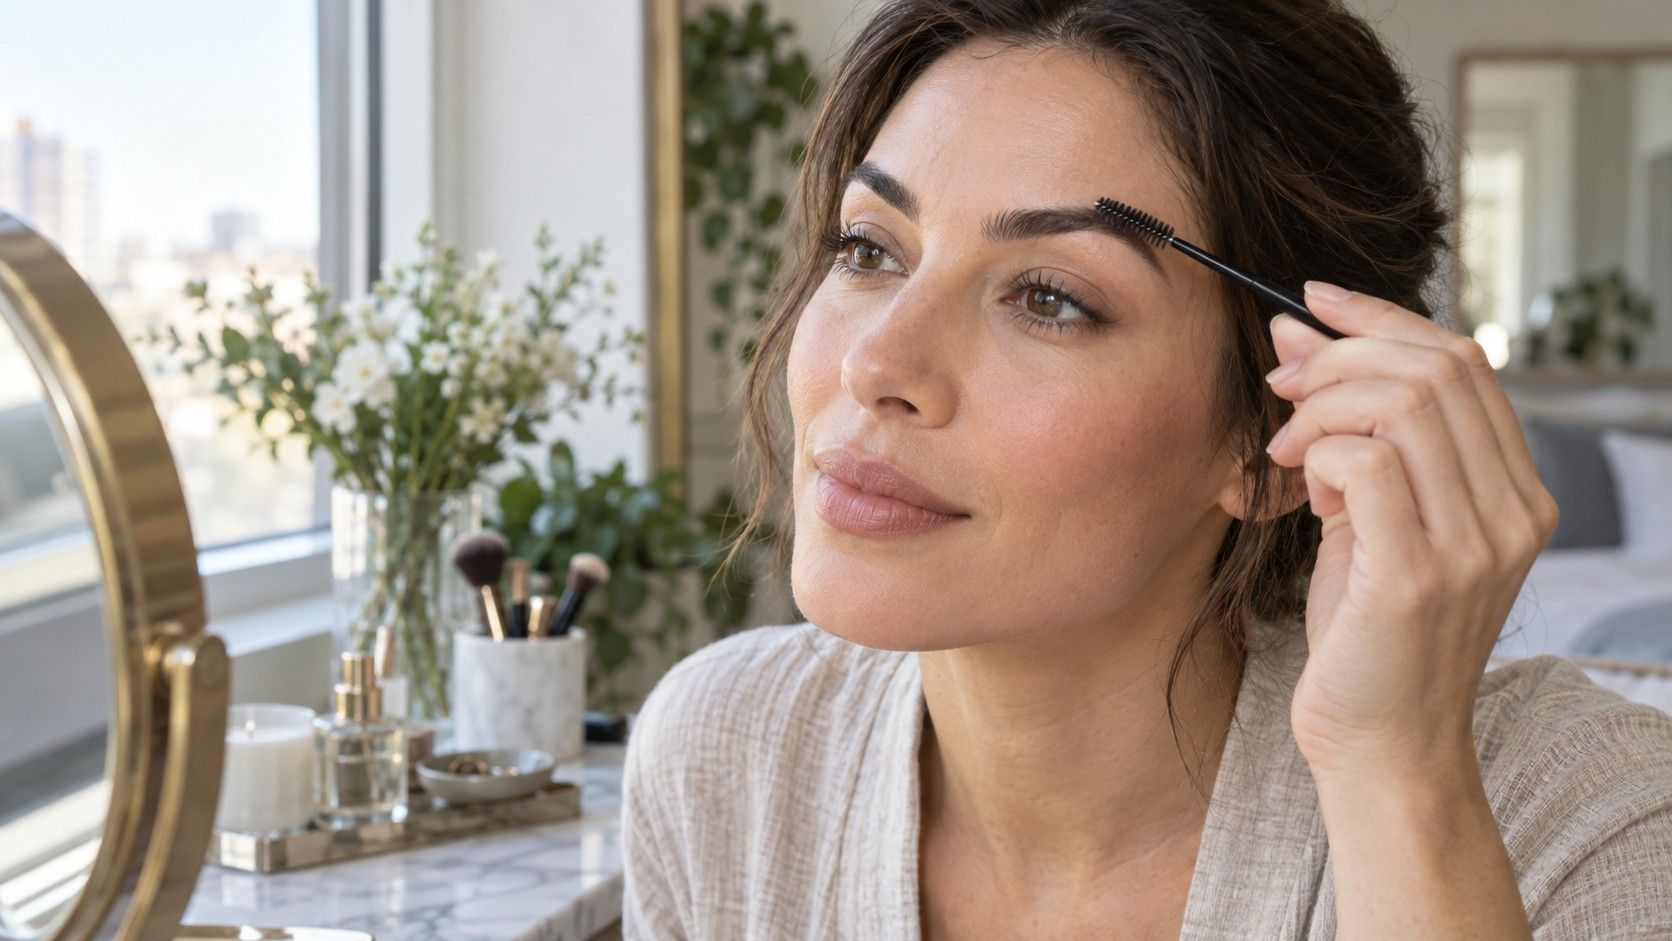
Brush the hairs upward and outward with a clean spoolie before reaching for tweezers or pencil. This reveals the upper line and shows which gaps are actual gaps rather than hairs lying flat. Take a photograph from a little distance as well as looking in the mirror. A close mirror can make you focus on one stray hair, while a normal viewing distance shows whether the brow reads as too short, too low, or simply natural. That difference prevents a lot of over-tweezing.
A face with soft, rounded cheeks can look good with a gentle lift in the arch because it introduces a little vertical movement. A square or angular jaw may feel balanced with a curved but not overly rounded brow, so the brow does not compete with the jawline. A longer face may enjoy a less dramatic arch and a little more horizontal length. These are visual experiments, not rules. A naturally straight brow can be striking on an oval face, and a defined arch can suit a round face if the rest of the proportions support it.
Try drawing a possible change with a brow pencil before removing hair. Use a shade close to your root colour and make short, hair-like strokes rather than one solid outline. Take a full-face photo, then wipe it away and compare a slightly different version. You are looking for a brow that opens the eye area without becoming the loudest feature on the face. If you notice only the brow before the eyes, the arch, thickness, or colour may be doing too much.
| What you want to adjust | Smallest useful test | What to avoid |
|---|---|---|
| A brow that feels short | Extend the tail with two or three fine pencil strokes | Pulling the tail sharply downward |
| More lift around the eyes | Define the highest natural point with a soft arch | Creating a pointed peak where hair does not grow |
| A softer overall effect | Keep the top line diffuse and use lighter pressure at the start | Boxing in the inner corners |
| More balance between brows | Match height at normal viewing distance | Removing healthy hairs to create perfect symmetry |
Set the start, arch, and tail with simple landmarks
The inner starting point affects eye spacing more than many people expect. As a rough guide, hold a slim brush upright from the outer edge of the nostril toward the inner corner of the eye. That line can suggest where the brow should begin, but do not force it if your natural growth starts farther in or out. Bringing the inner corners too close together can make the centre of the face look heavy; taking them too far apart can make the eyes appear more widely spaced. Keep the beginning light and softly feathered.
For the arch, angle the brush from the nostril through the outer edge of the iris while looking straight ahead. This often gives a plausible area for the highest point, rather than an exact dot. The tail usually follows a line from the nostril past the outer corner of the eye. A tail that is too short can make the brow seem abruptly cut off; one that drops far below the starting point can pull the expression downward. Keep the tail thinner and lighter than the body of the brow, then reassess from arm's length.
Choose arch height and thickness for everyday expression
High arches create drama, which can be attractive but can also make a resting expression look surprised. If you want more lift, begin with a fractional change in the pencil shape above the natural high point rather than removing hair beneath it. Give yourself a few days to see the effect in different lights and with glasses, if you wear them. A brow that looks excellent in a still photo may feel too severe when you are talking or laughing.
Thickness deserves the same patience. Full brows can frame the eyes beautifully, but filling every space with dark pigment can turn natural texture into a single block. Use a fine pencil only in missing areas, a tinted gel where there is already hair, and a spoolie to blur the front edge. On finer brows, the goal is not necessarily to make them thick; a clean line with a believable tail can be more balanced than a dense, drawn-on shape. Respecting the natural density is usually kinder to both the face and the skin.
Avoid over-thinning for a trend
Trend cycles move faster than brow hair. A very thin brow may look intentional for an editorial image, but repeated heavy plucking can leave patches that are slow to return. Before changing the lower line, mark the desired shape with pencil and remove only the obvious hairs outside it. Work in a bright room, stop after a few hairs, and brush everything back into place. The urge to make one more correction is often strongest when the brow is already close to finished.
Waxing, threading, and professional shaping can be useful when you want a clean baseline, but bring a reference that shows a realistic brow rather than an unrelated celebrity shape. Tell the technician that you want to preserve fullness and natural asymmetry. If you use retinoids, exfoliating acids, or have irritated skin around the brow area, ask about timing before waxing. Gentle grooming is more useful than a dramatic appointment followed by weeks of trying to grow back a mistake.
Make changes that are easy to live with
Test any new brow shape across ordinary situations: under kitchen lighting, outside on an overcast day, at a desk, and beside your favourite glasses. The most reliable version is the one that looks calm in all of them. If you use a phone camera, place it at eye level and step back; an extreme close-up makes the brow area appear larger than it does in person. Photograph both a neutral face and a smile, because the brow tail and temple area shift as you move.
A useful brow shape supports the eyes and leaves the rest of the face free to be expressive. Keep a light hand, take away less than you think, and let face shape be one of several clues. Your natural growth pattern and daily routine deserve at least as much weight as any chart.